Have you ever tried to capture the exact likeness of your favorite wizard, only to end up with a sketch that looks more like a confused troll? You are certainly not alone. Capturing the essence of beloved figures from the Wizarding World can be daunting, but learning how to draw Harry Potter characters does not have to be a frustrating endeavor. By breaking down complex faces, unique hairstyles, and distinctive school robes into manageable, simple geometric shapes, absolutely anyone can master wizarding art.
Here at Harry Potter Insider, we spend countless hours analyzing the deep lore, alternate timelines, and visual storytelling of the franchise. Through years of dissecting character dynamics, it becomes clear that drawing these characters is not just about tracing lines; it is about capturing their personality, history, and narrative weight on paper. Whether you want to sketch a quick caricature of the Boy Who Lived or draft a highly detailed, realistic portrait of Severus Snape, this comprehensive guide will walk you through the process step-by-step. Let’s bypass the frustration and get straight to the magic of bringing Hogwarts to the page.
Gather Your Magical Supplies: What You Need to Start
Before you can cast a spell, you need the right wand. In the muggle world of art, this means gathering the proper sketching supplies. While you can certainly start learning how to draw Harry Potter characters with a standard school pencil and printer paper, investing in a few inexpensive, high-quality tools will drastically improve your final results and make the drawing process much smoother.
Essential Pencils and Erasers
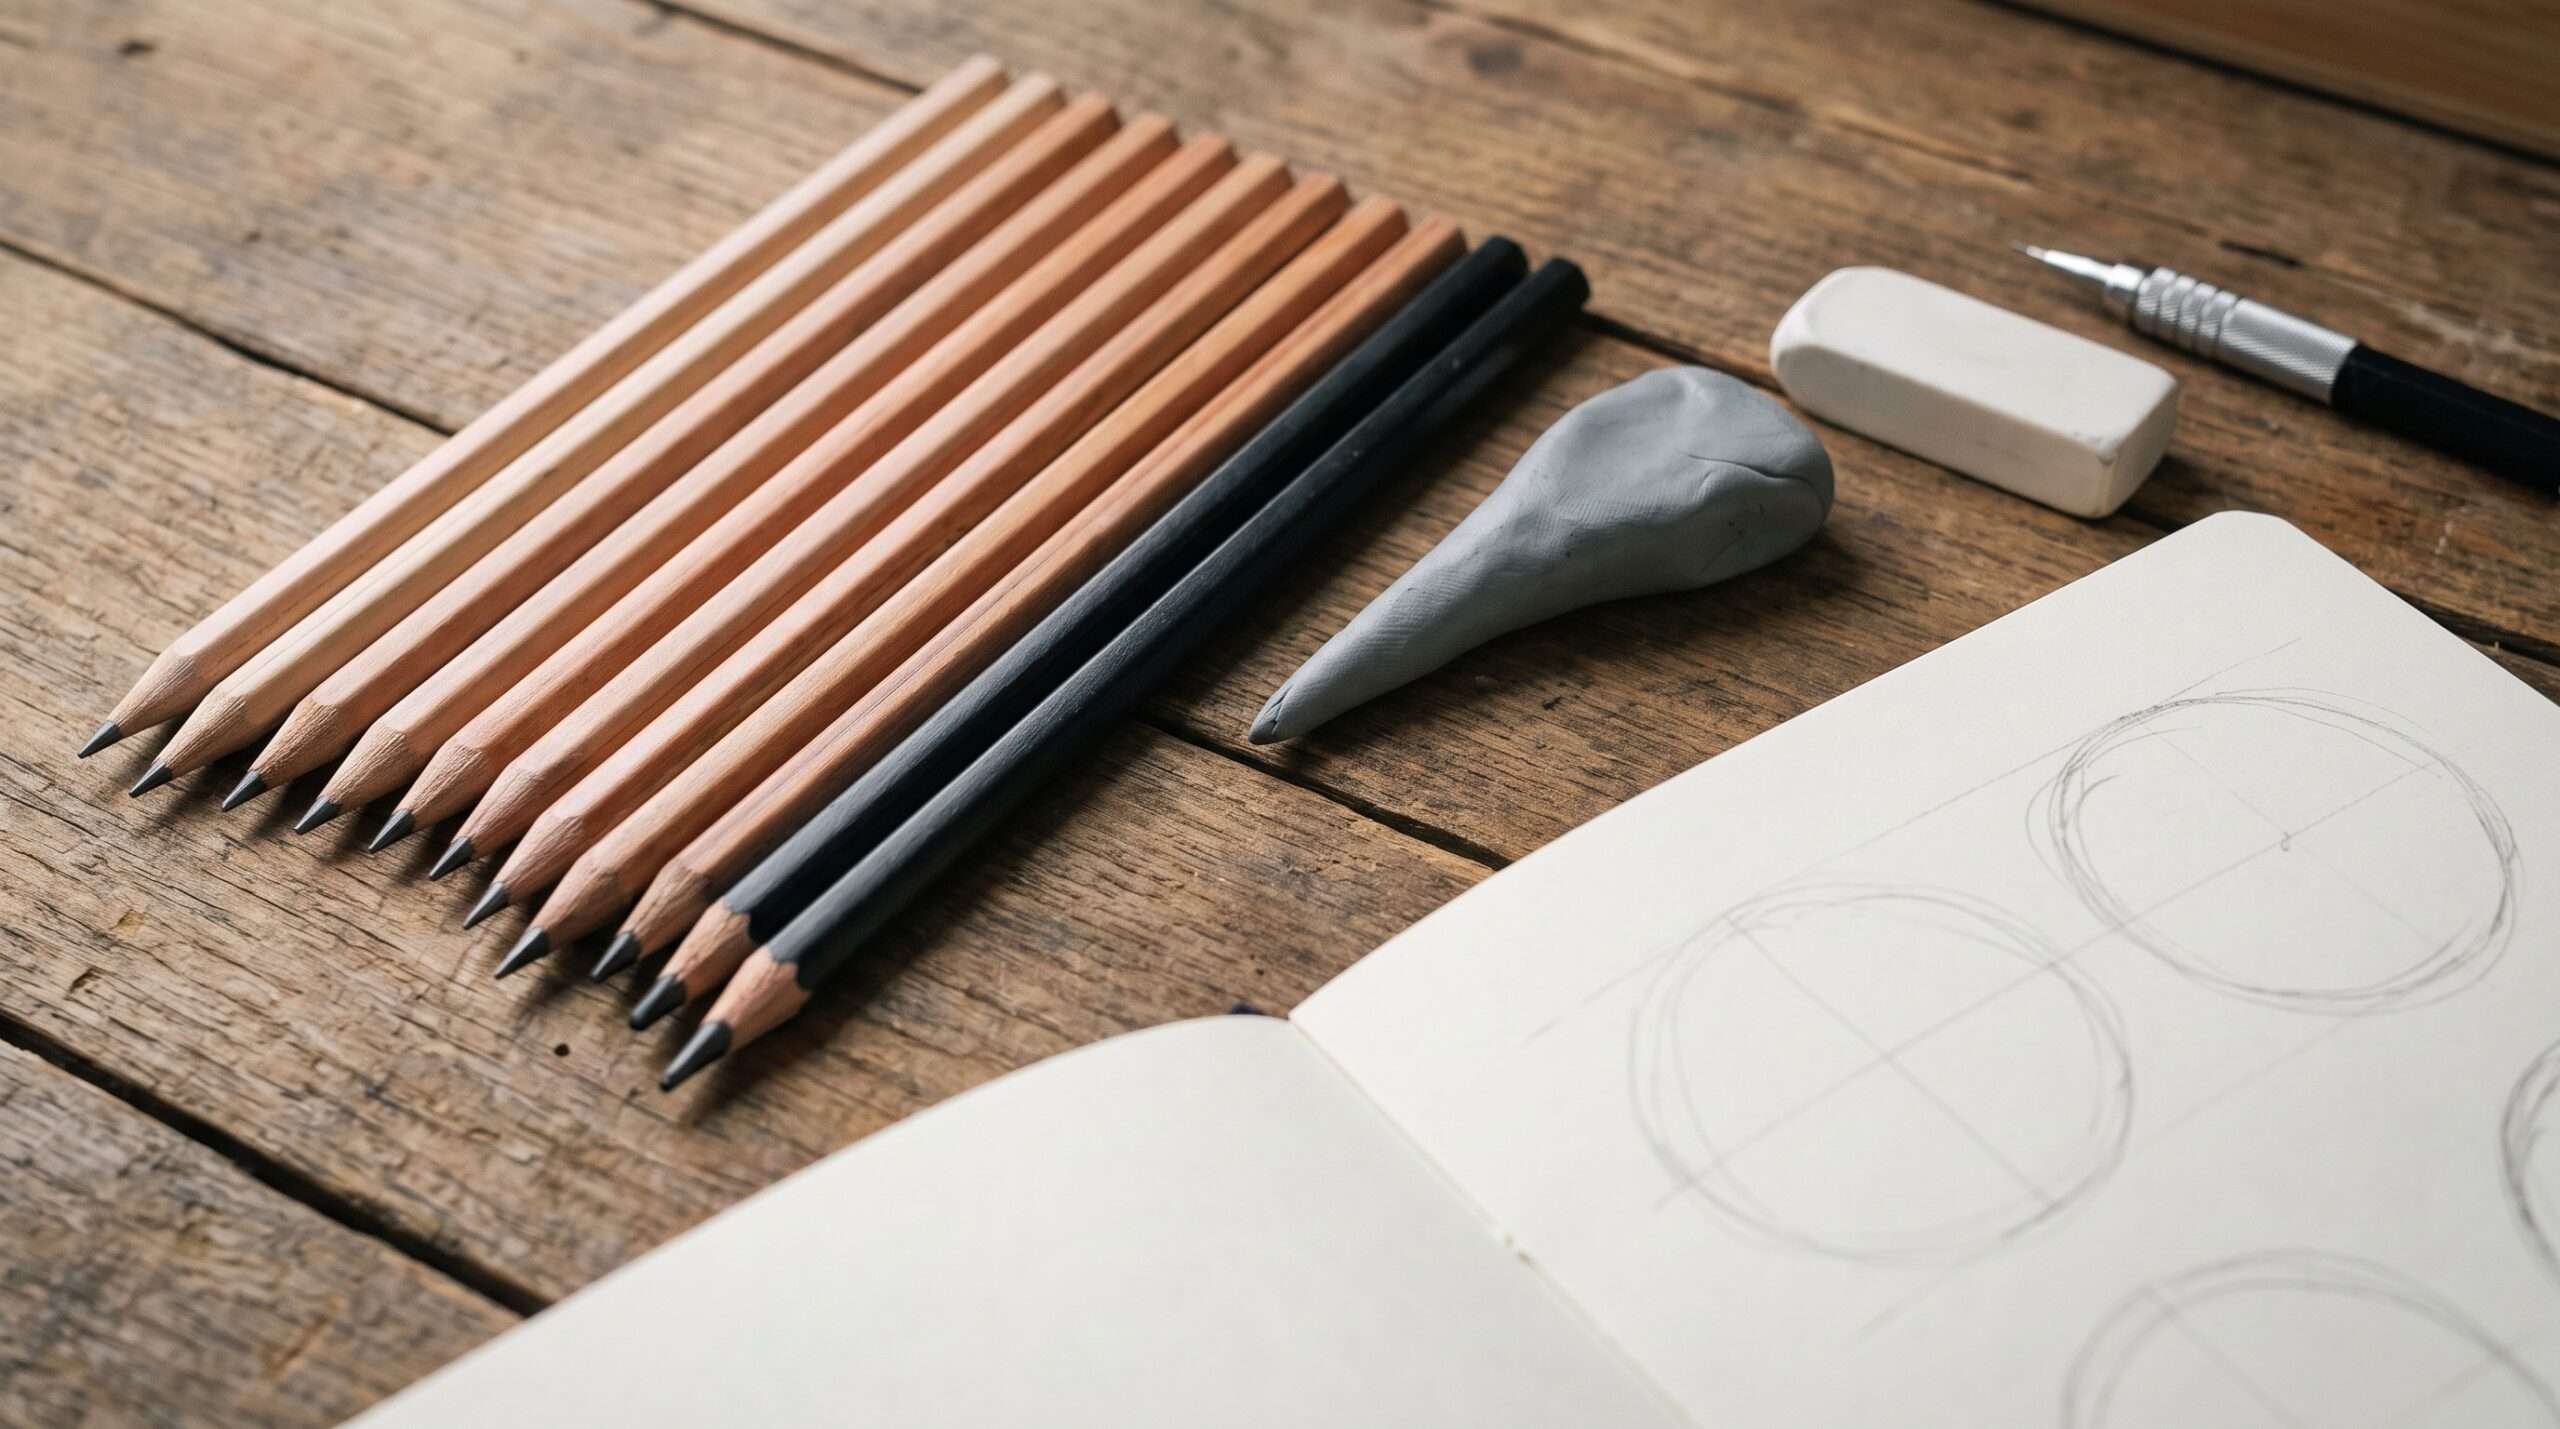
To create dynamic, three-dimensional characters, you need to understand value—the range from the lightest highlights to the darkest shadows. A single pencil makes this difficult. We recommend a basic set of graphite grading pencils:
-
HB or 2H Pencil: These are harder leads. They create very light, faint lines. You will use these for your initial foundational sketches, guidelines, and mapping out facial proportions. Because they are light, they are incredibly easy to erase without damaging or denting the paper.
-
2B Pencil: The perfect middle ground. This is your workhorse pencil for defining the final outlines of robes, eyes, and hair once you are confident in your initial sketch.
-
4B or 6B Pencil: These are soft, dark leads. You will use these exclusively for deep shadows, such as the dark folds of a Hogwarts cloak, the pupil of an eye, or the deep black of Severus Snape’s hair.
For erasers, ditch the pink ones at the end of your pencil—they smudge graphite and ruin paper texture. Instead, pick up a kneaded eraser. This soft, putty-like tool can be molded into a fine point to erase tiny mistakes, or rolled over a sketch to gently lighten your HB guidelines before you commit to final, darker lines.
 Best Sketchbooks for Blending and Inking
The paper you choose dictates how your graphite behaves. If you are sketching and planning to heavily blend your shading (crucial for realistic faces), look for a sketchbook with medium-tooth paper (around 80-100 lbs). The “tooth” refers to the subtle texture of the page, which grabs and holds the graphite. If you plan to ink your drawings later to create crisp, comic-book-style character designs, opt for Bristol board or hot-pressed watercolor paper. These surfaces are completely smooth, ensuring your ink lines will not bleed, feather, or spiderweb out of control.
The Core Anatomy of a Hogwarts Student
Before we tackle the specific likenesses of Harry, Ron, or Hermione, we must establish a foundation. The biggest mistake beginners make when learning how to draw Harry Potter characters is skipping the structural phase and jumping straight into drawing eyes and hair. If the underlying skull and bodily proportions are wrong, no amount of detailed shading will save the drawing.
Nailing the Proportions
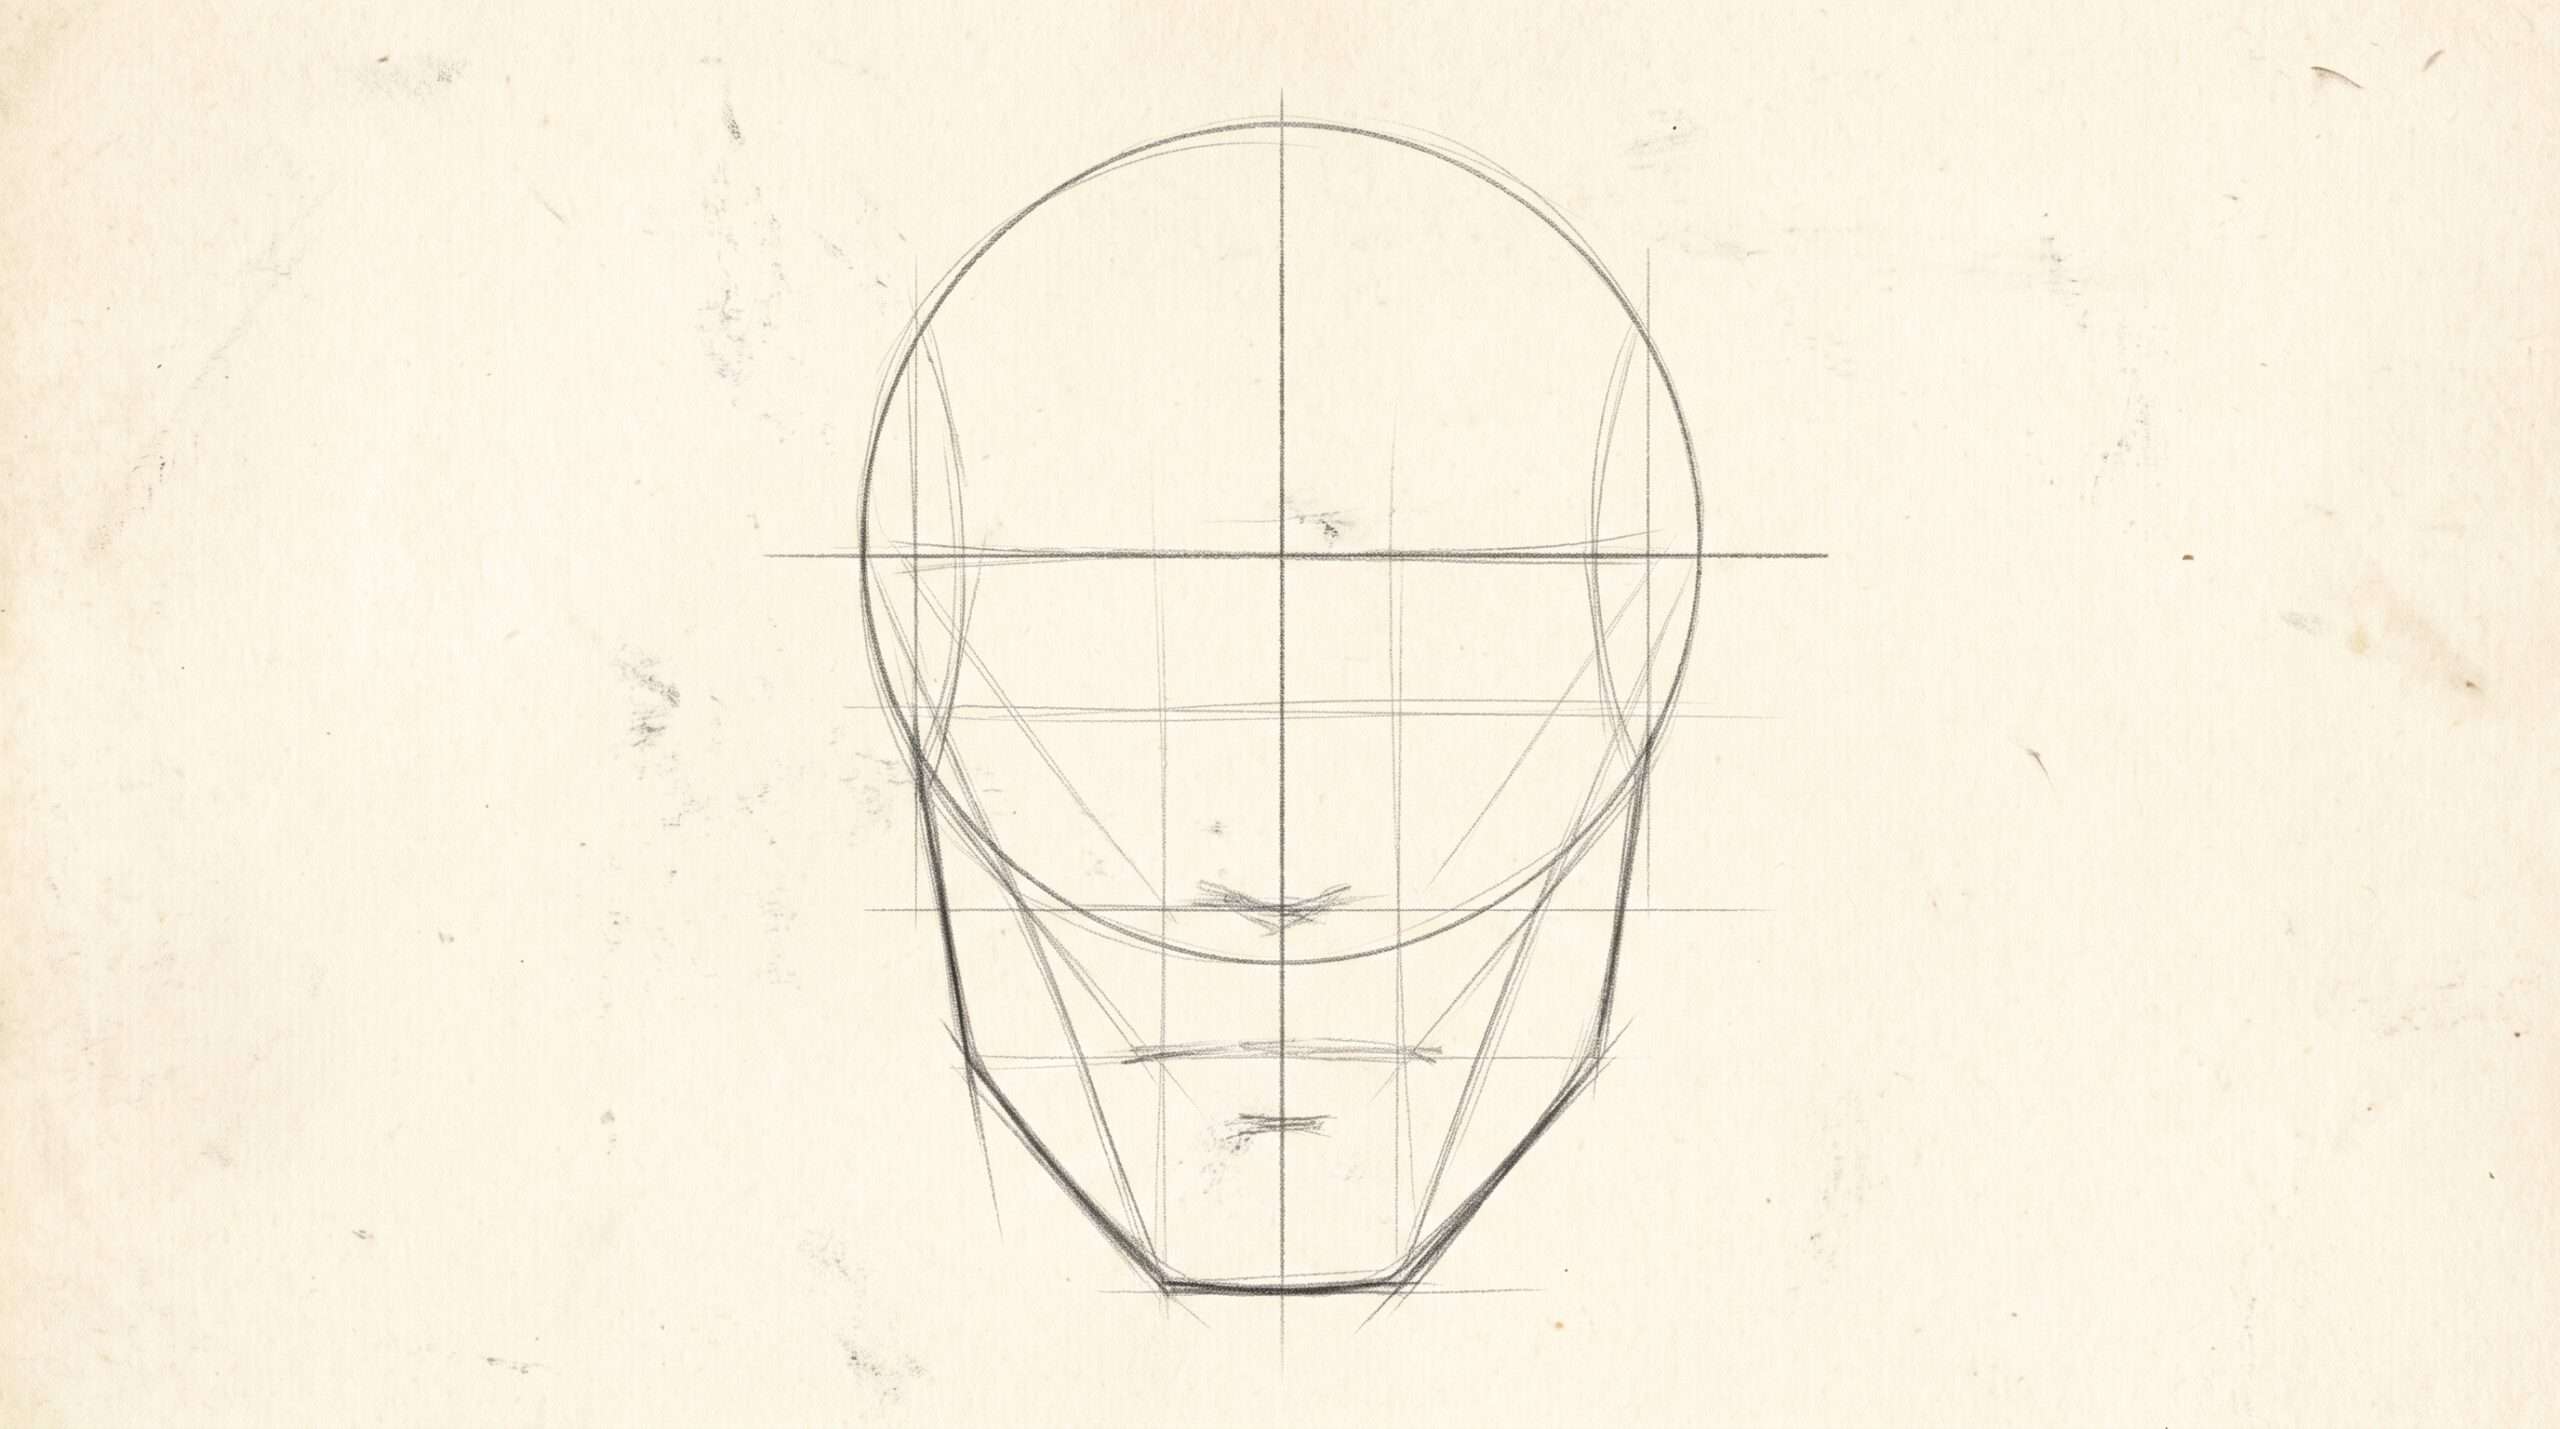
Almost all human heads, whether it is an eleven-year-old first-year or an aged Headmaster, start the exact same way. We will use a simplified version of the Loomis Method:
-
The Cranial Sphere: Draw a simple circle. This represents the top half of the skull. It does not need to be perfectly round, but keep your hand loose.
-
The Center Line: Draw a vertical line straight down the middle of the circle, extending past the bottom. This determines which way the character is facing.
-
The Eyeline: Draw a horizontal line cutting the circle exactly in half.
-
The Jaw and Chin: From the edges of the circle, drop two angled lines down to meet the bottom of your center vertical line. This forms the jawline and chin. For younger characters like the Golden Trio in their early years, make the jaw softer and rounder. For older or more intense characters (like Malfoy or Voldemort), make these jawlines sharp, angular, and narrow.
-
Placing Features: The eyes rest exactly on that horizontal middle line. The bottom of the nose sits roughly halfway between the eyes and the chin. The mouth sits slightly above the halfway point between the nose and the chin.
 Hogwarts Robes and House Ties
Drawing the iconic Hogwarts uniform is essential for grounding your characters in the wizarding world. Clothing shouldn’t look like flat shapes pasted onto a body; it needs to drape and fold realistically according to gravity and the character’s movement.
-
The Shirt and Tie: Start close to the neck. Draw the collar of the dress shirt popping up slightly, curving around the three-dimensional cylinder of the neck. The tie should not be a perfectly straight line; it should contour slightly over the chest. When adding house colors (stripes for Gryffindor, Slytherin, etc.), make sure the stripes curve with the fabric, rather than cutting straight across.
-
The V-Neck Sweater: The edges of the Hogwarts sweater should look ribbed. Add small, vertical tick marks around the collar and the bottom hem to indicate the knitted wool texture.
-
The Cloak and Robes: Robes are heavy fabric. They gather and fold at tension points, primarily the shoulders and the elbows. Draw the shoulders sloping downward naturally. When drawing folds, use long, sweeping, curved lines that originate from the armpits or the crook of the elbow. Leave the bottom edges of the robes flowing and slightly jagged to indicate movement and heavy drapery.
Step-by-Step Tutorials for the Golden Trio
Now that you have your supplies and a solid grasp of basic facial proportions and Hogwarts attire, it is time to bring our favorite heroes to life. We will start with the Golden Trio, focusing on the specific visual cues that make each of them instantly recognizable.
How to Draw Harry Potter (The Boy Who Lived)
Drawing Harry requires balancing his inherent bravery with the somewhat disheveled, unkempt nature he is known for in the books and early films.
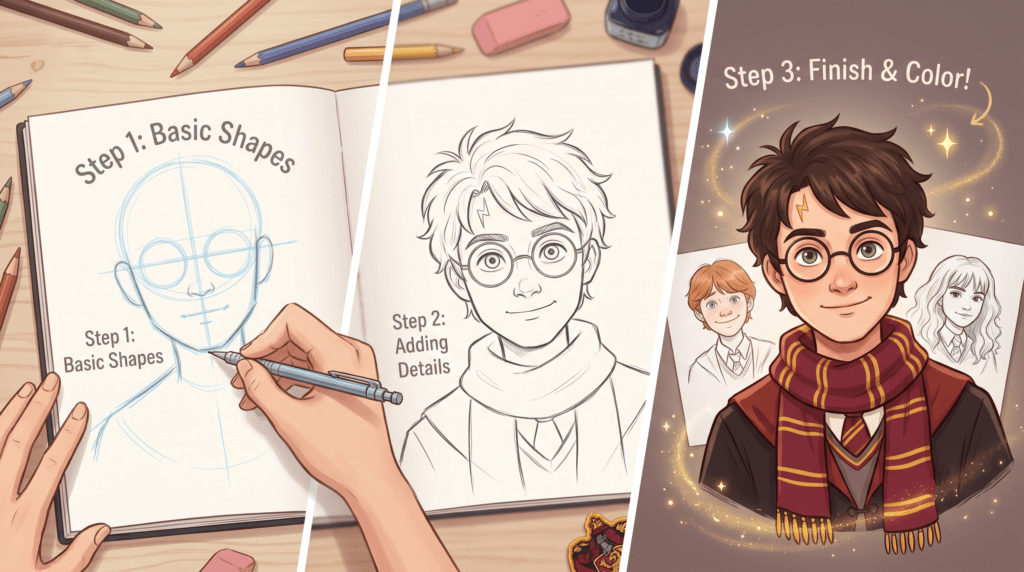
Step 1: The Foundation
Begin with the cranial circle and guidelines as discussed in the anatomy section. Harry has a relatively standard, balanced face shape. Keep the jawline firm but not overly sharp.
Step 2: Sizing and Placing the Glasses
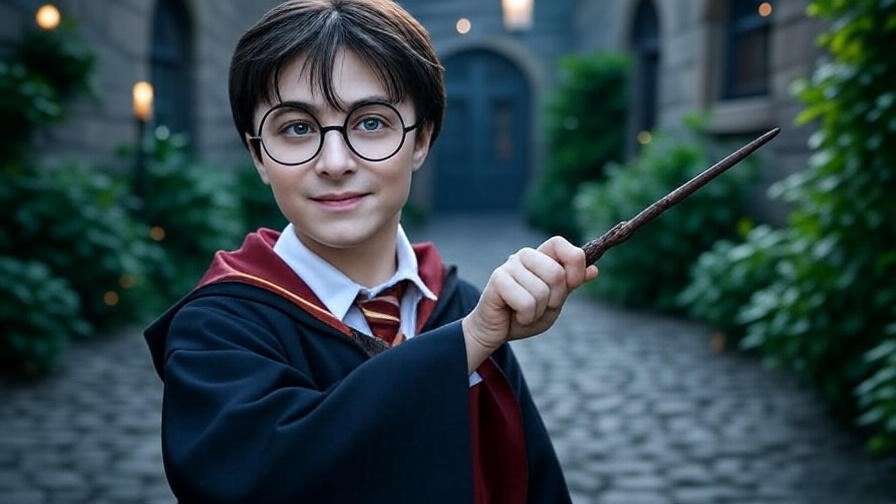
Harry’s round glasses are his most defining feature, but they are often drawn incorrectly. They should not cover his entire face, nor should they be tiny spectacles. The top rim of the glasses should sit just below his eyebrows, and the bottom rim should rest lightly on his cheekbones. Draw two perfect circles, connected by a thin, slightly curved bridge over the nose. Add small lines extending from the outside of the circles to his ears for the arms of the frames.
Step 3: The Untamed Hair and the Lightning Bolt Scar
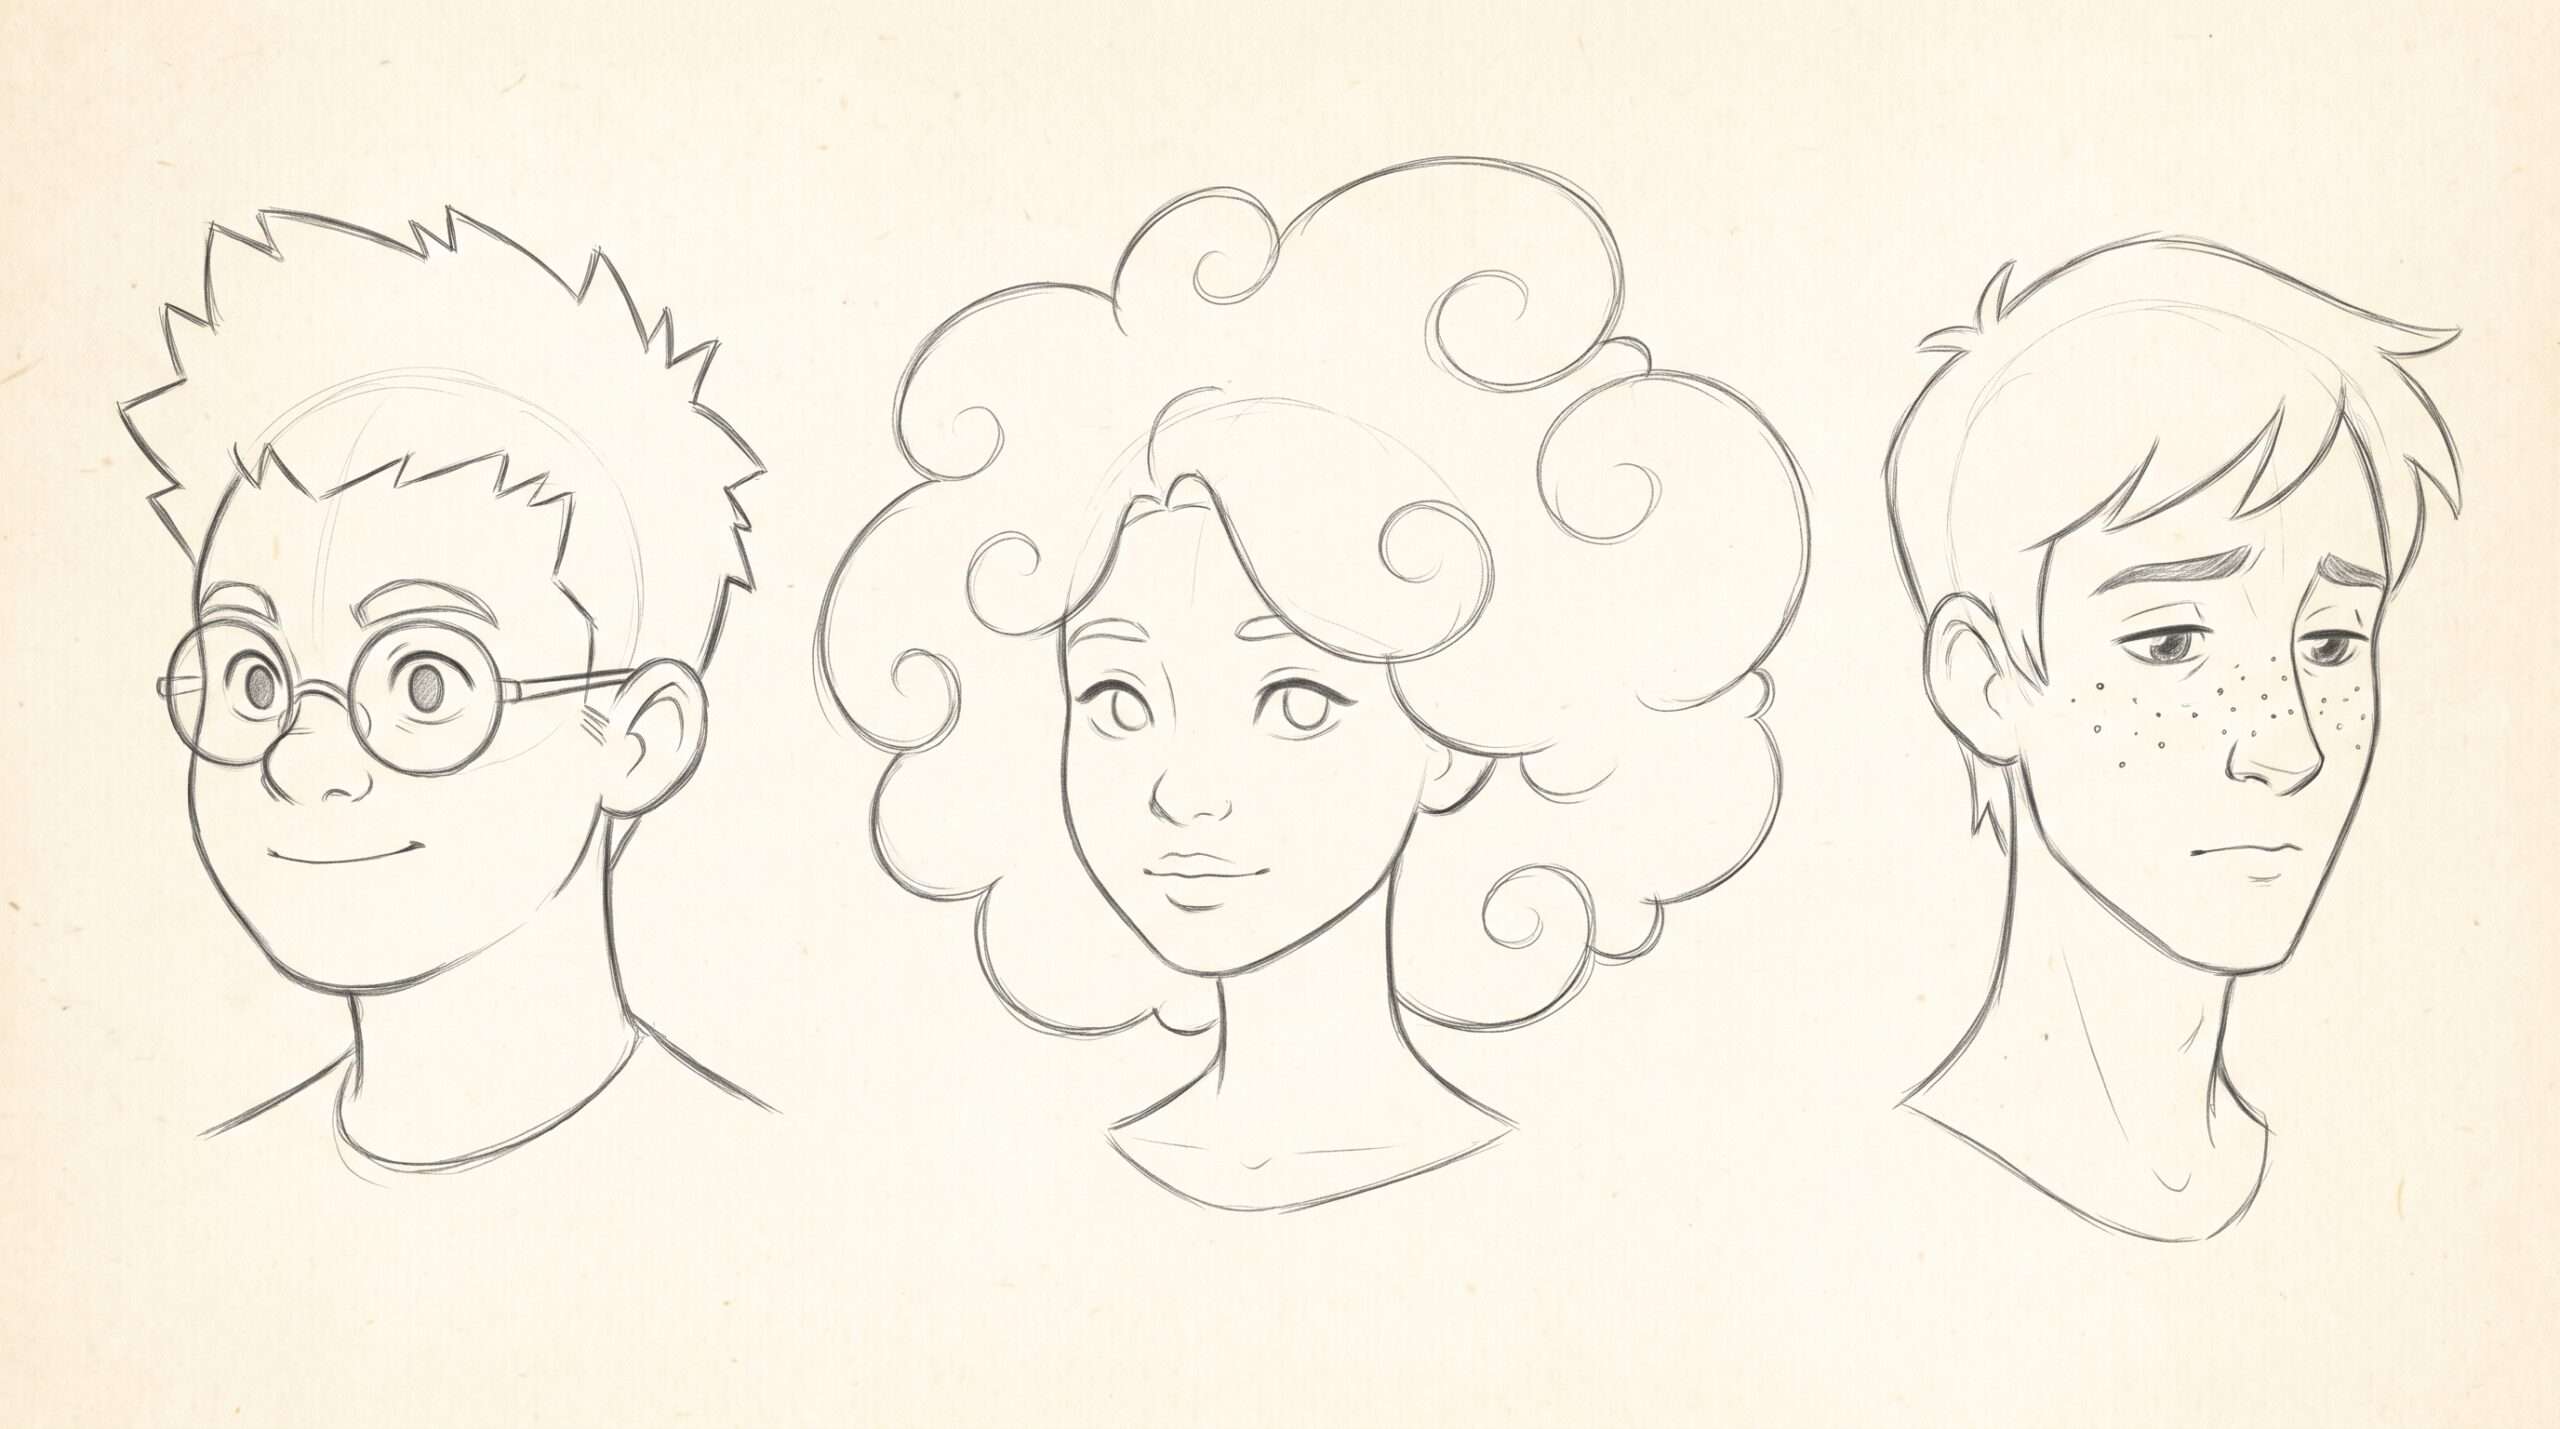
Harry’s hair is famously messy, sticking up in the back. Do not draw individual strands of hair; instead, draw jagged, triangular clumps. Think of his hair as a silhouette of a flame. Create volume by making the hair extend above your initial cranial circle—hair sits on top of the skull, it does not lay flat against it.
Next, draw the scar. In the books, it is described as being off-center, slightly above his right eye. Draw a sharp, jagged “N” or lightning bolt shape. Keep it relatively subtle; it shouldn’t dominate his entire forehead.
Step 4: Final Details and Shading
Add his eyes behind the glasses. Give him almond-shaped eyes (often described as bright green, inherited from his mother). Shade the inner corners of the eyes and under the jawline to give the face depth. Finish by sketching the thick, warm folds of a Gryffindor scarf wrapped comfortably around his neck to hide the collar of his robes.
 How to Draw Hermione Granger
Hermione is defined by her intellect, determination, and, of course, her wonderfully bushy hair. Capturing her essence means focusing on a sharp, inquisitive facial expression and lots of voluminous texture.
Step 1: Facial Structure and Expression
Start with your foundational cranial circle, but give Hermione a slightly more heart-shaped or delicate jawline compared to Harry. The key to Hermione’s character lies in her eyes and brow. Draw her eyebrows angled slightly downward toward the center to give her an expression of intense focus or mild exasperation. Her eyes should be wide and alert.
Step 2: Mastering the Bushy Hair
The biggest pitfall when drawing Hermione is trying to draw every single strand of hair. This will result in a messy, scratchy-looking sketch. Instead, block out the hair using large, overlapping, cloud-like shapes that frame her face. Let the hair expand outward significantly, giving it weight and bounce. Once you have the overall silhouette established, use your 2B pencil to add directional lines within those large shapes to indicate the flow of her curls.
Step 3: Finishing Touches
Add her Gryffindor tie and perhaps a stack of heavy leather-bound textbooks clutched to her chest. When shading, keep the light source in mind to create depth within the heavy folds of her robes and the deep shadows under her voluminous curls.
How to Draw Ron Weasley
Ron’s character design is all about warmth, humor, and a slightly relaxed, gangly posture. He is highly expressive, so this is your chance to practice drawing a character with a bit more comedic charm.
Step 1: The Long, Expressive Face
Ron’s facial structure is slightly longer and more oval than Harry’s. Stretch your initial cranial circle just a bit vertically. Give him a slightly wider, softer nose and a lopsided, asymmetrical smile to convey his loyal but often bewildered personality.
Step 2: The Weasley Freckles and Hair
Ron’s hair should be parted to the side, falling slightly into his eyes but remaining relatively flat compared to Harry’s spikes and Hermione’s curls. Use sweeping, curved lines to indicate the flow of his red hair. For his trademark freckles, use your HB pencil to lightly dot across the bridge of his nose and upper cheeks. Do not press too hard; freckles should look like natural skin pigmentation, not dark spots.
Step 3: The Famous Hand-Me-Downs
Instead of crisp, perfect Hogwarts robes, draw Ron in one of Mrs. Weasley’s knitted jumpers. Use the ribbing technique mentioned earlier around the collar, and draw the fabric looking a little worn, with slightly looser, baggier folds around the shoulders.
Capturing the Dark Arts: Drawing Villains & Professors
To truly master how to draw Harry Potter characters, you have to venture beyond the Gryffindor common room. Drawing villains and older professors introduces new challenges: aging lines, sharp angular features, and imposing silhouettes that demand a different approach to your pencil work.
Severus Snape
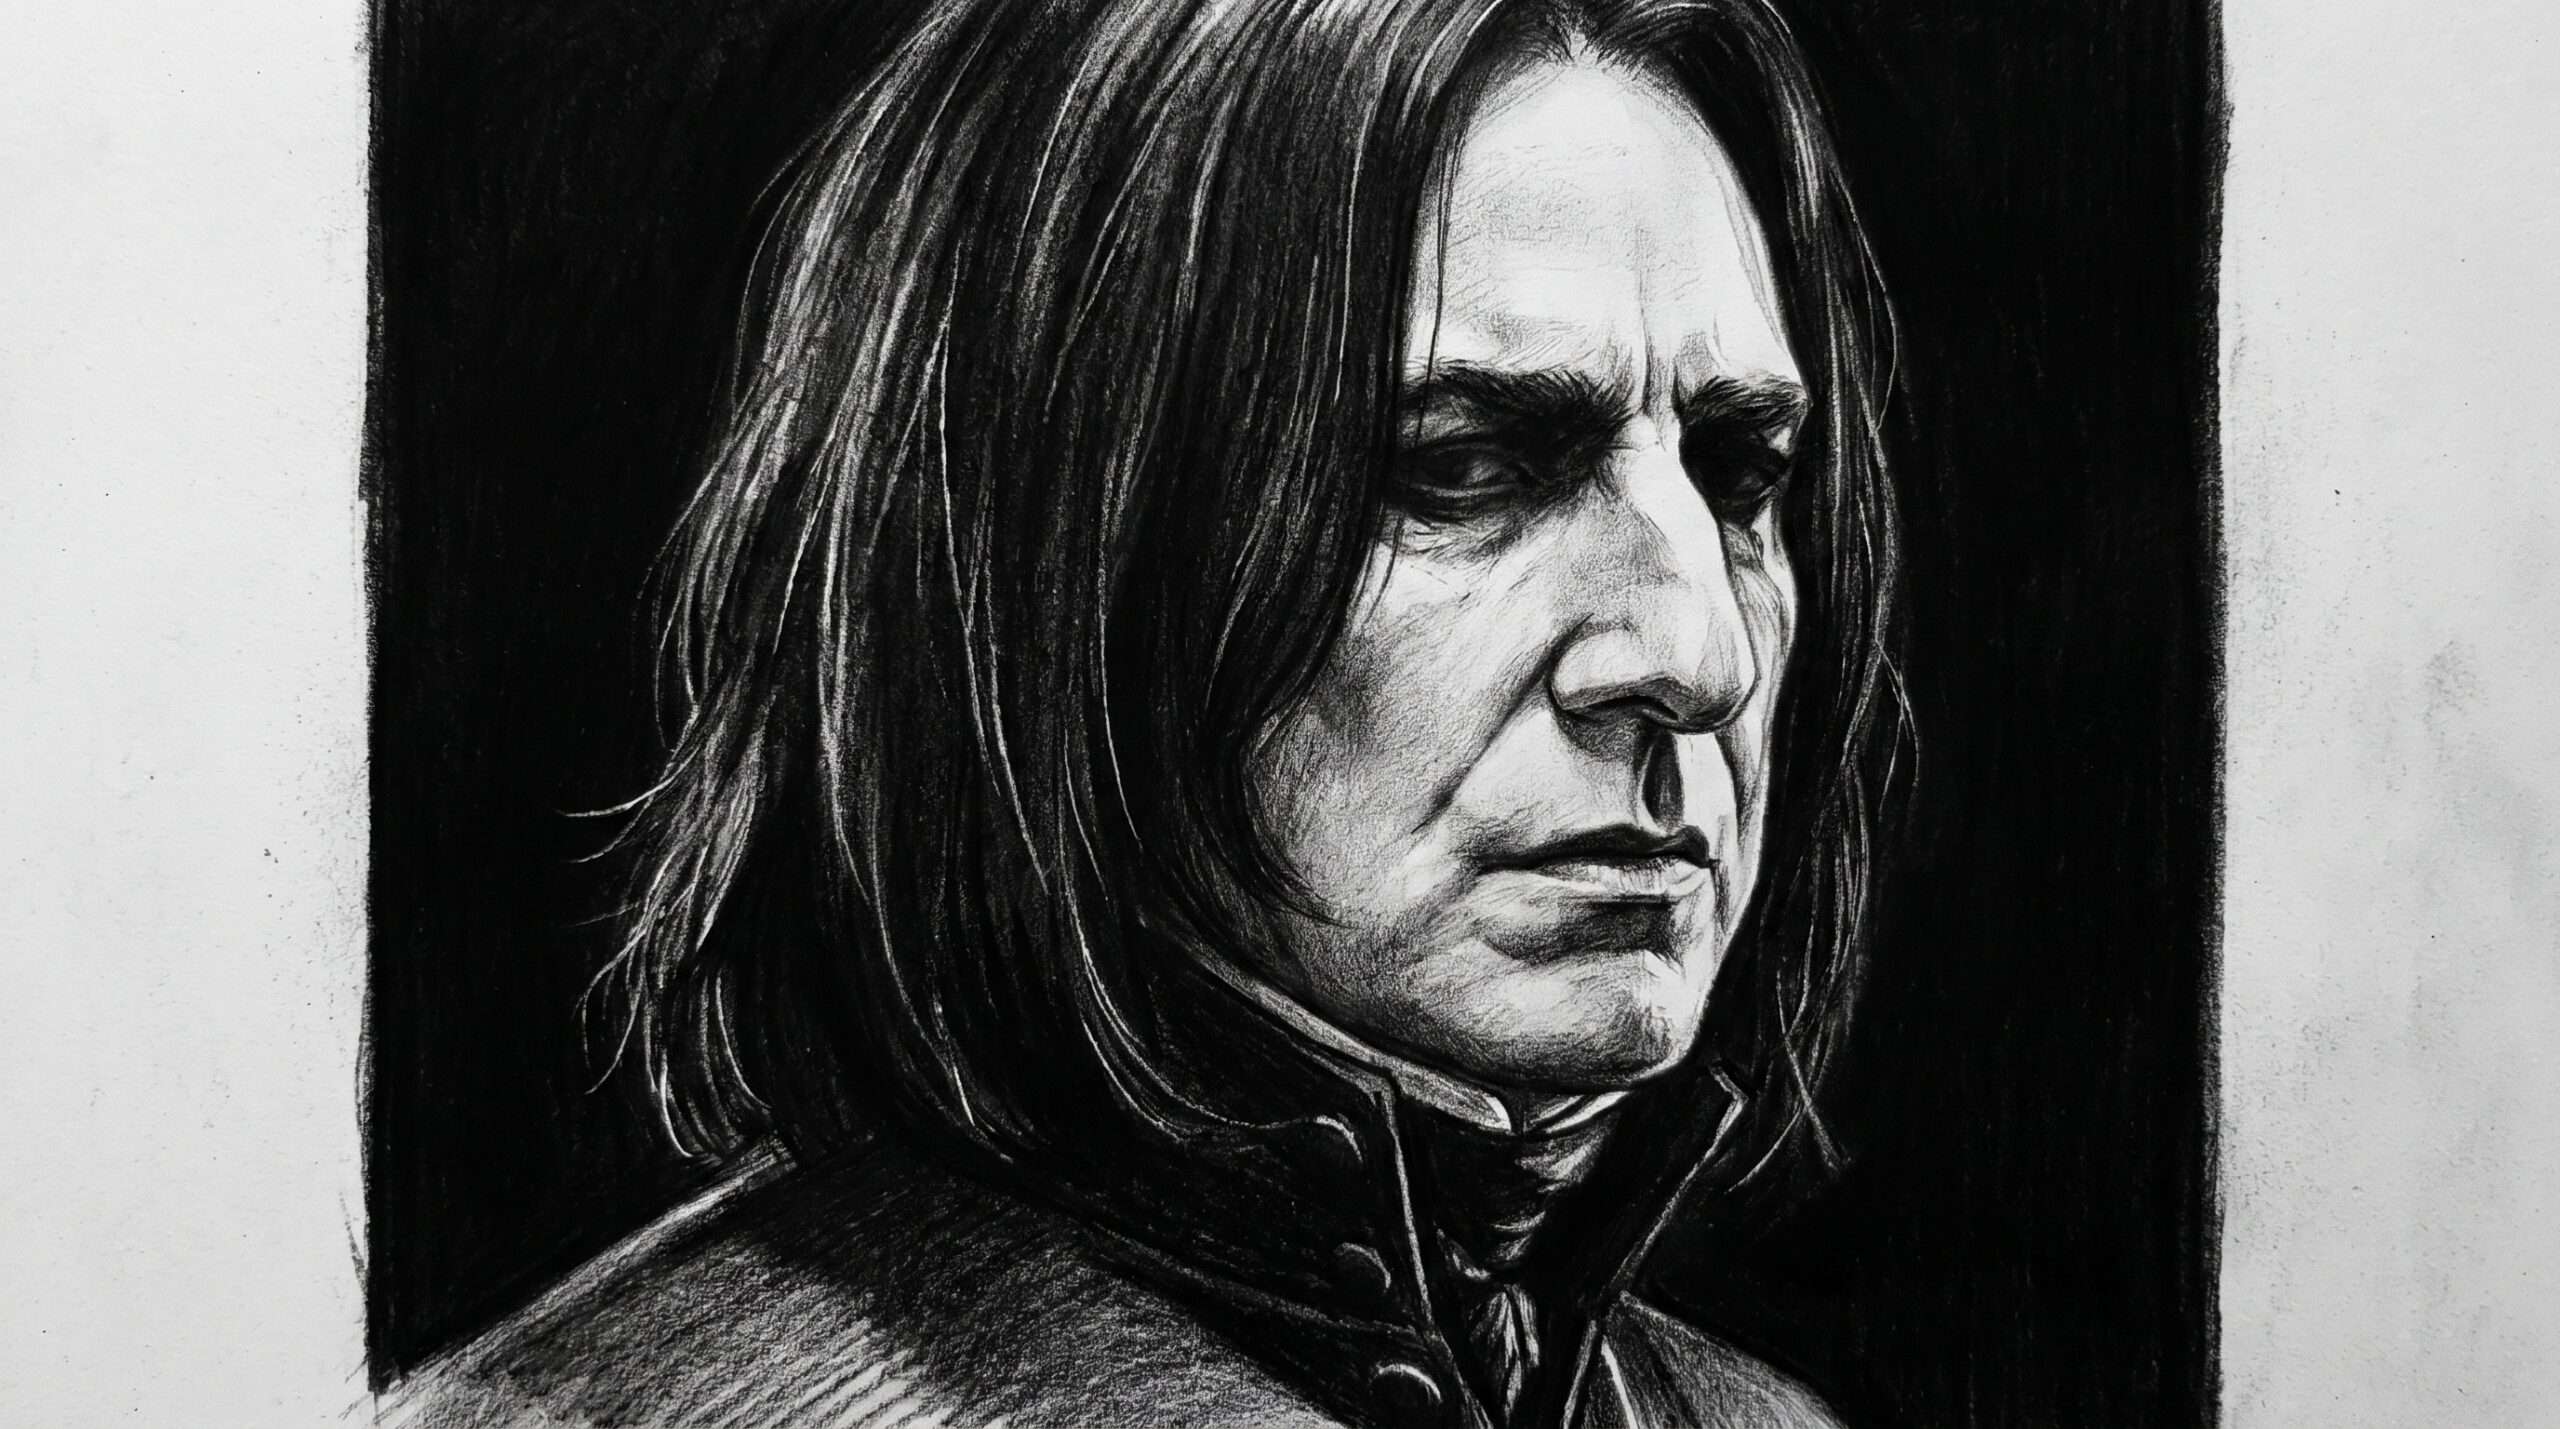
Snape’s design is entirely about vertical lines and heavy, dark shadows. His silhouette should feel rigid and intimidating.
-
The Features: Start with a narrow, elongated face. Draw a prominent, hooked nose—this is his most defining structural feature. His eyebrows should be heavy and set low over deep, shadowed eyes to create a permanent scowl.
-
The Hair: Snape’s hair frames his face like dark curtains. Draw it hanging straight down, flat against the skull, parting sharply in the middle. Use your darkest 4B or 6B pencil to fill in the hair, leaving only a thin, harsh sliver of white to indicate greasy highlights.
-
The Attire: Draw his high, buttoned-up collar tightly hugging his neck, enveloped by heavy, billowing black robes. The shading on his clothing should feature high contrast: deep blacks and stark, sharp highlights.
 Lord Voldemort
Drawing the Dark Lord is a fantastic exercise in specialized anatomy because you are essentially drawing a skull with skin stretched over it.
-
The Serpentine Face: Start with your standard cranial circle, but hollow out the cheeks entirely with deep shading. He has no eyebrows and no traditional nose. In place of a nose, draw two thin, angled slits that lie almost flat against his face.
-
The Eyes and Skin: His eyes are deeply sunken. Shade heavily around the eye sockets, but leave the actual eye narrow and snake-like. To convey his unnatural pallor, use minimal shading on the surface of his skin, leaving the paper mostly white, adding just a few faint, sprawling lines near the temples to suggest translucent skin and visible veins.
Harry Potter Insider Tips: Dynamic Poses & Deep Lore
Once you are comfortable with standard portraits, it is time to elevate your art. True engagement comes from telling a story with your drawings.
Action Poses with Wands
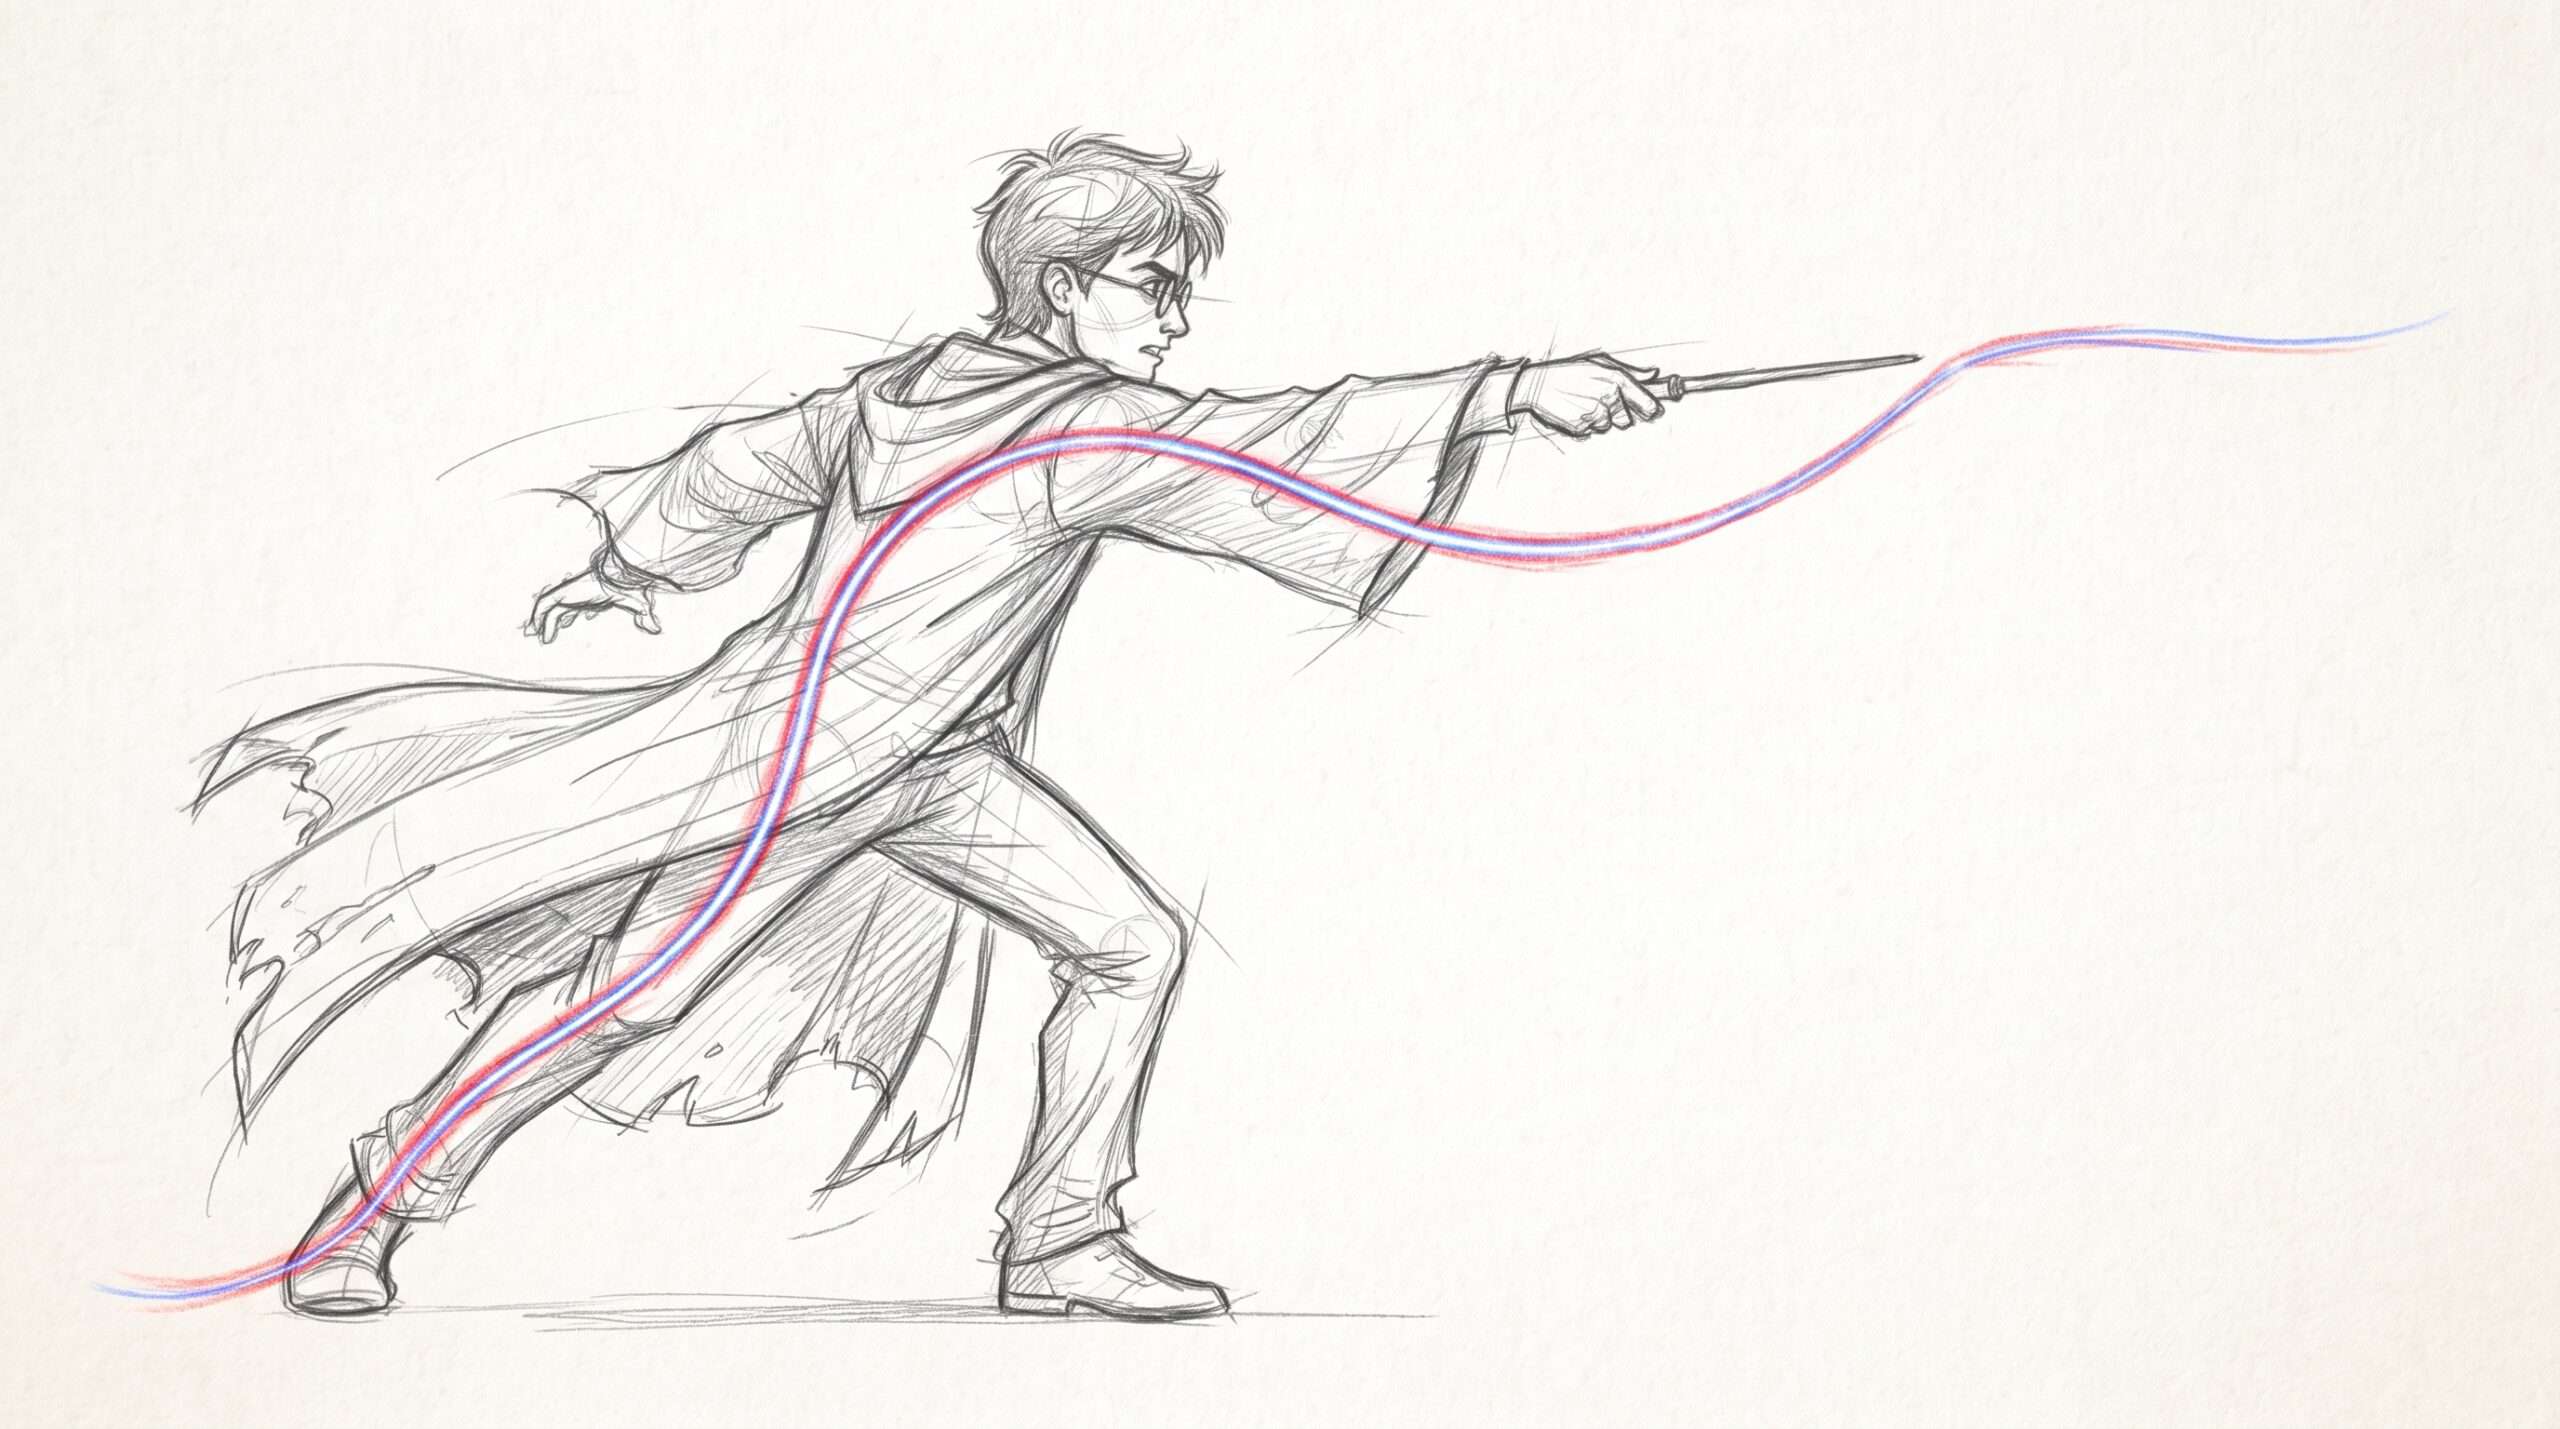
Do not just draw characters standing stiffly with their wands by their sides. The wand is an extension of the wizard. When drawing a spell-casting pose, establish a “line of action”—an invisible curved line sweeping from the character’s back foot, through their spine, and extending straight out through the tip of the wand. This gives the drawing forward momentum. Remember to reference actual wand movements; a sweeping flick for Wingardium Leviosa requires a different wrist angle than the aggressive, straight-arm thrust of an Expelliarmus charm.
 Exploring “What If” Concept Art
If you want to stretch your creative limits, start drawing characters in alternative universe scenarios and hypothetical timeline changes. What if Harry had been sorted into Slytherin? Redesigning his robes and giving his expression a slightly sharper, more cunning edge is a fantastic character design exercise.
For a true deep-lore challenge, test your portrait skills by visualizing obscure or film-only characters, like Bem—the Gryffindor student known for his wonderfully ominous lines in The Prisoner of Azkaban. Translating secondary lore figures into fully realized sketches is the ultimate test of a fan artist’s creativity.
Common Beginner Drawing Mistakes (And How to Fix Them)
Even when following a step-by-step tutorial, certain pitfalls trap many beginner artists. Keep an eye out for these common errors:
-
Floating Features: This happens when artists draw the eyes, nose, and mouth without using the cranial crosshair guidelines. The result is a face where the features look pasted on and slightly crooked. Always draw your guidelines lightly first!
-
The “Hairy” Line: Beginners often lack confidence, resulting in outlines made of dozens of tiny, scratchy pencil strokes. This makes the drawing look fuzzy. Practice using single, fluid, confident strokes for your final outlines.
-
Ignoring the Skull for the Hair: As mentioned with Harry and Hermione, never draw hair flat against the scalp line. Hair has volume. It must sit above and around the original circle you drew for the head, or the character will look as though they have no skull.
Frequently Asked Questions (FAQ)
Do I need to be good at art to draw Harry Potter characters?
Not at all. Drawing is a learned skill, much like brewing a potion. By breaking down complex faces into simple shapes like circles and lines, any beginner can create highly recognizable wizarding portraits with consistent practice.
What is the easiest Harry Potter character to draw for a beginner?
Harry Potter is arguably the easiest character to start with. His round glasses and prominent lightning bolt scar are such strong visual anchors that even a rough, simplified sketch will be instantly recognizable to anyone who sees it.
How do I make my drawings look more like the actors from the movies?
To achieve a photorealistic likeness of actors like Daniel Radcliffe or Emma Watson, you must study references closely. Focus on the exact distance between the eyes, the specific shape of the jawline, and the unique curvature of the lips. Shading techniques that capture the precise lighting of a reference photo will bridge the gap between a generic character and a specific actor’s portrait.
Learning how to draw Harry Potter characters is an incredibly rewarding way to interact with the lore and magic of the series. Remember, every great artist started somewhere, and your first sketch might not belong in a gallery at the Louvre (or on the walls of Hogwarts). The secret is patience, using your guidelines, and practicing the unique traits that make the Golden Trio and their adversaries so memorable.
Grab your pencils, trust the step-by-step process, and let your creativity flow onto the page. We would love to see how your art turns out—whether you are sketching a quick doodle of Ron Weasley or an intricate, alternative-timeline masterpiece. Keep practicing, keep refining those pencil strokes, and most importantly, keep the magic alive!